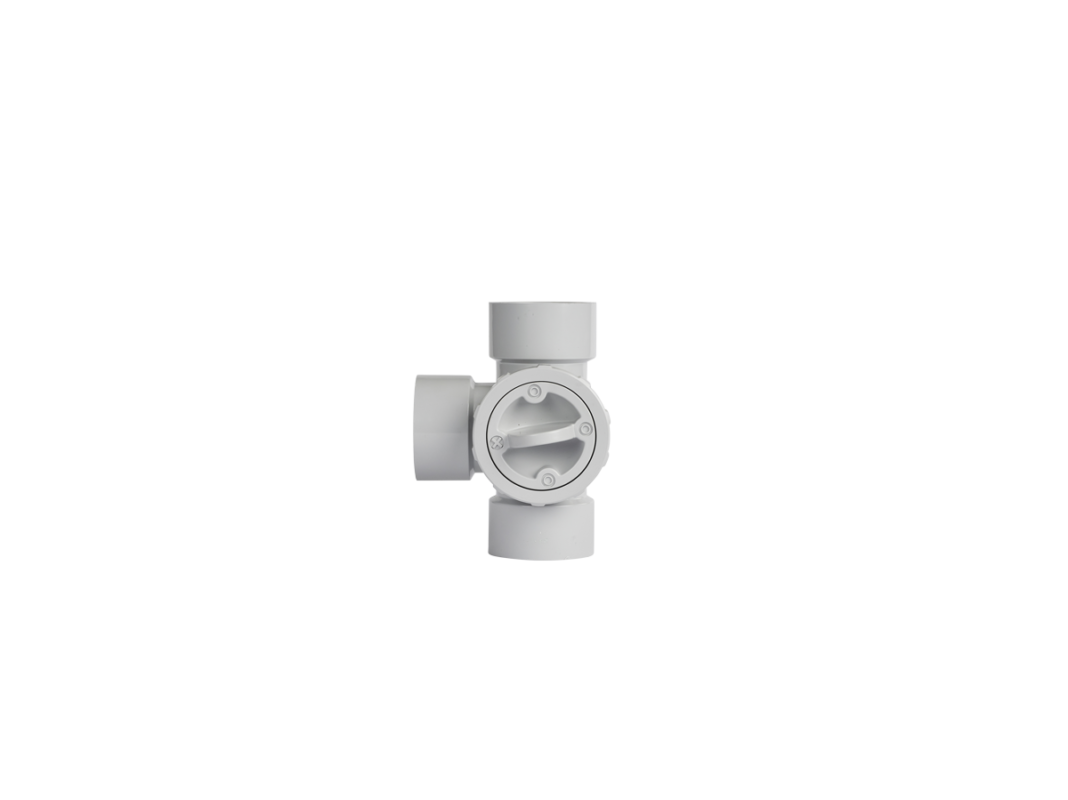
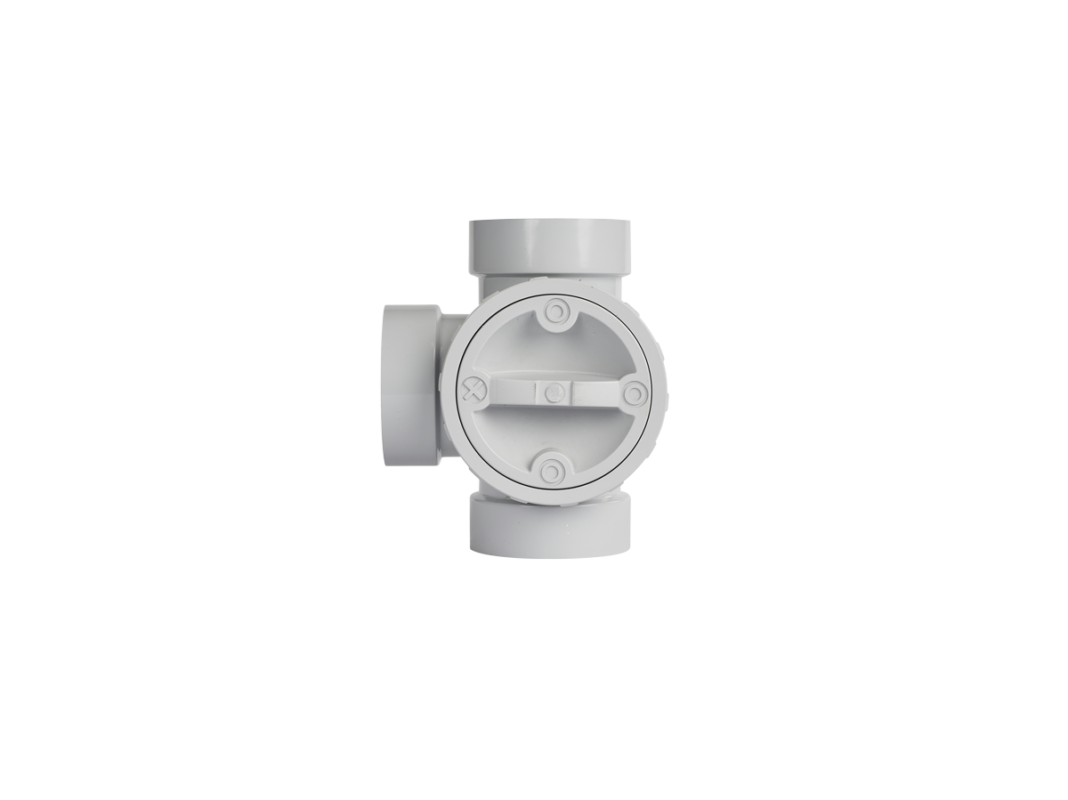
Features
Quick and easy to install
Easily control flow direction with the adjustable flow direction handle
50mm and 90mm options available
Appropriate for non-pressurised rainwater, stormwater and greywater applications
Adjustable flow direction handle can be oriented to suit your installation
-
Specifications
-
What's in the box
- Water Diverter
-
Tools you might need
- Marker pen
- Tape measure
- Saw
- Solvent weld glue
- Priming fluid
-
Installation
NOTE: The use of greywater is regulated by state/territory or local government environmental health and/or water authorities. Before use, please ensure installation complies with all state/territory and local government guidelines.
- Select your desired installation point. The Water Diverter can be installed for nonpressurised rainwater, stormwater and greywater applications on vertical and horizontal pipes.
- To install, measure and remove a 136mm section of pipe (for 90mm models) or 87mm section of pipe (for 50mm models) at your desired installation point. Ensure all cut edges are clean and smooth.
- Use priming fluid to clean inside all sockets of the Water Diverter and the outside of the pipes you will be gluing too.
- Apply solvent weld glue first to inside of the two sockets on your Water Diverter that will attach the existing pipe work and then to the outside of the pipes. Bring together and ensure the pipes are inserted fully into the sockets of the Water Diverter.
- Apply solvent weld glue to the remainder socket and outside of the new pipe you will be diverting water to. Insert the pipe and hold until secure ensuring pipe has been inserted fully.
- Your Water Diverter is designed to switch the direction of flow through your pipes. This is done by rotating the flow control handle. The “X” on the handle indicates the sealed pipe. Importantly, the handle can only be rotated 90 degrees between two pipes and the “X” should never point up. As such, it may be necessary to adjust the handle orientation to suit your installation.
- To adjust the flow control handle orientation, unscrew the front locking ring and pull the handle fully out of the unit. Reinsert the handle so it’s oriented to suit your installation and will fully close one pipe direction. If necessary, press the O-ring back in around the handle, then screw the front locking ring back on to secure the handle in place. Twist the handle to test everything is working as it should.

